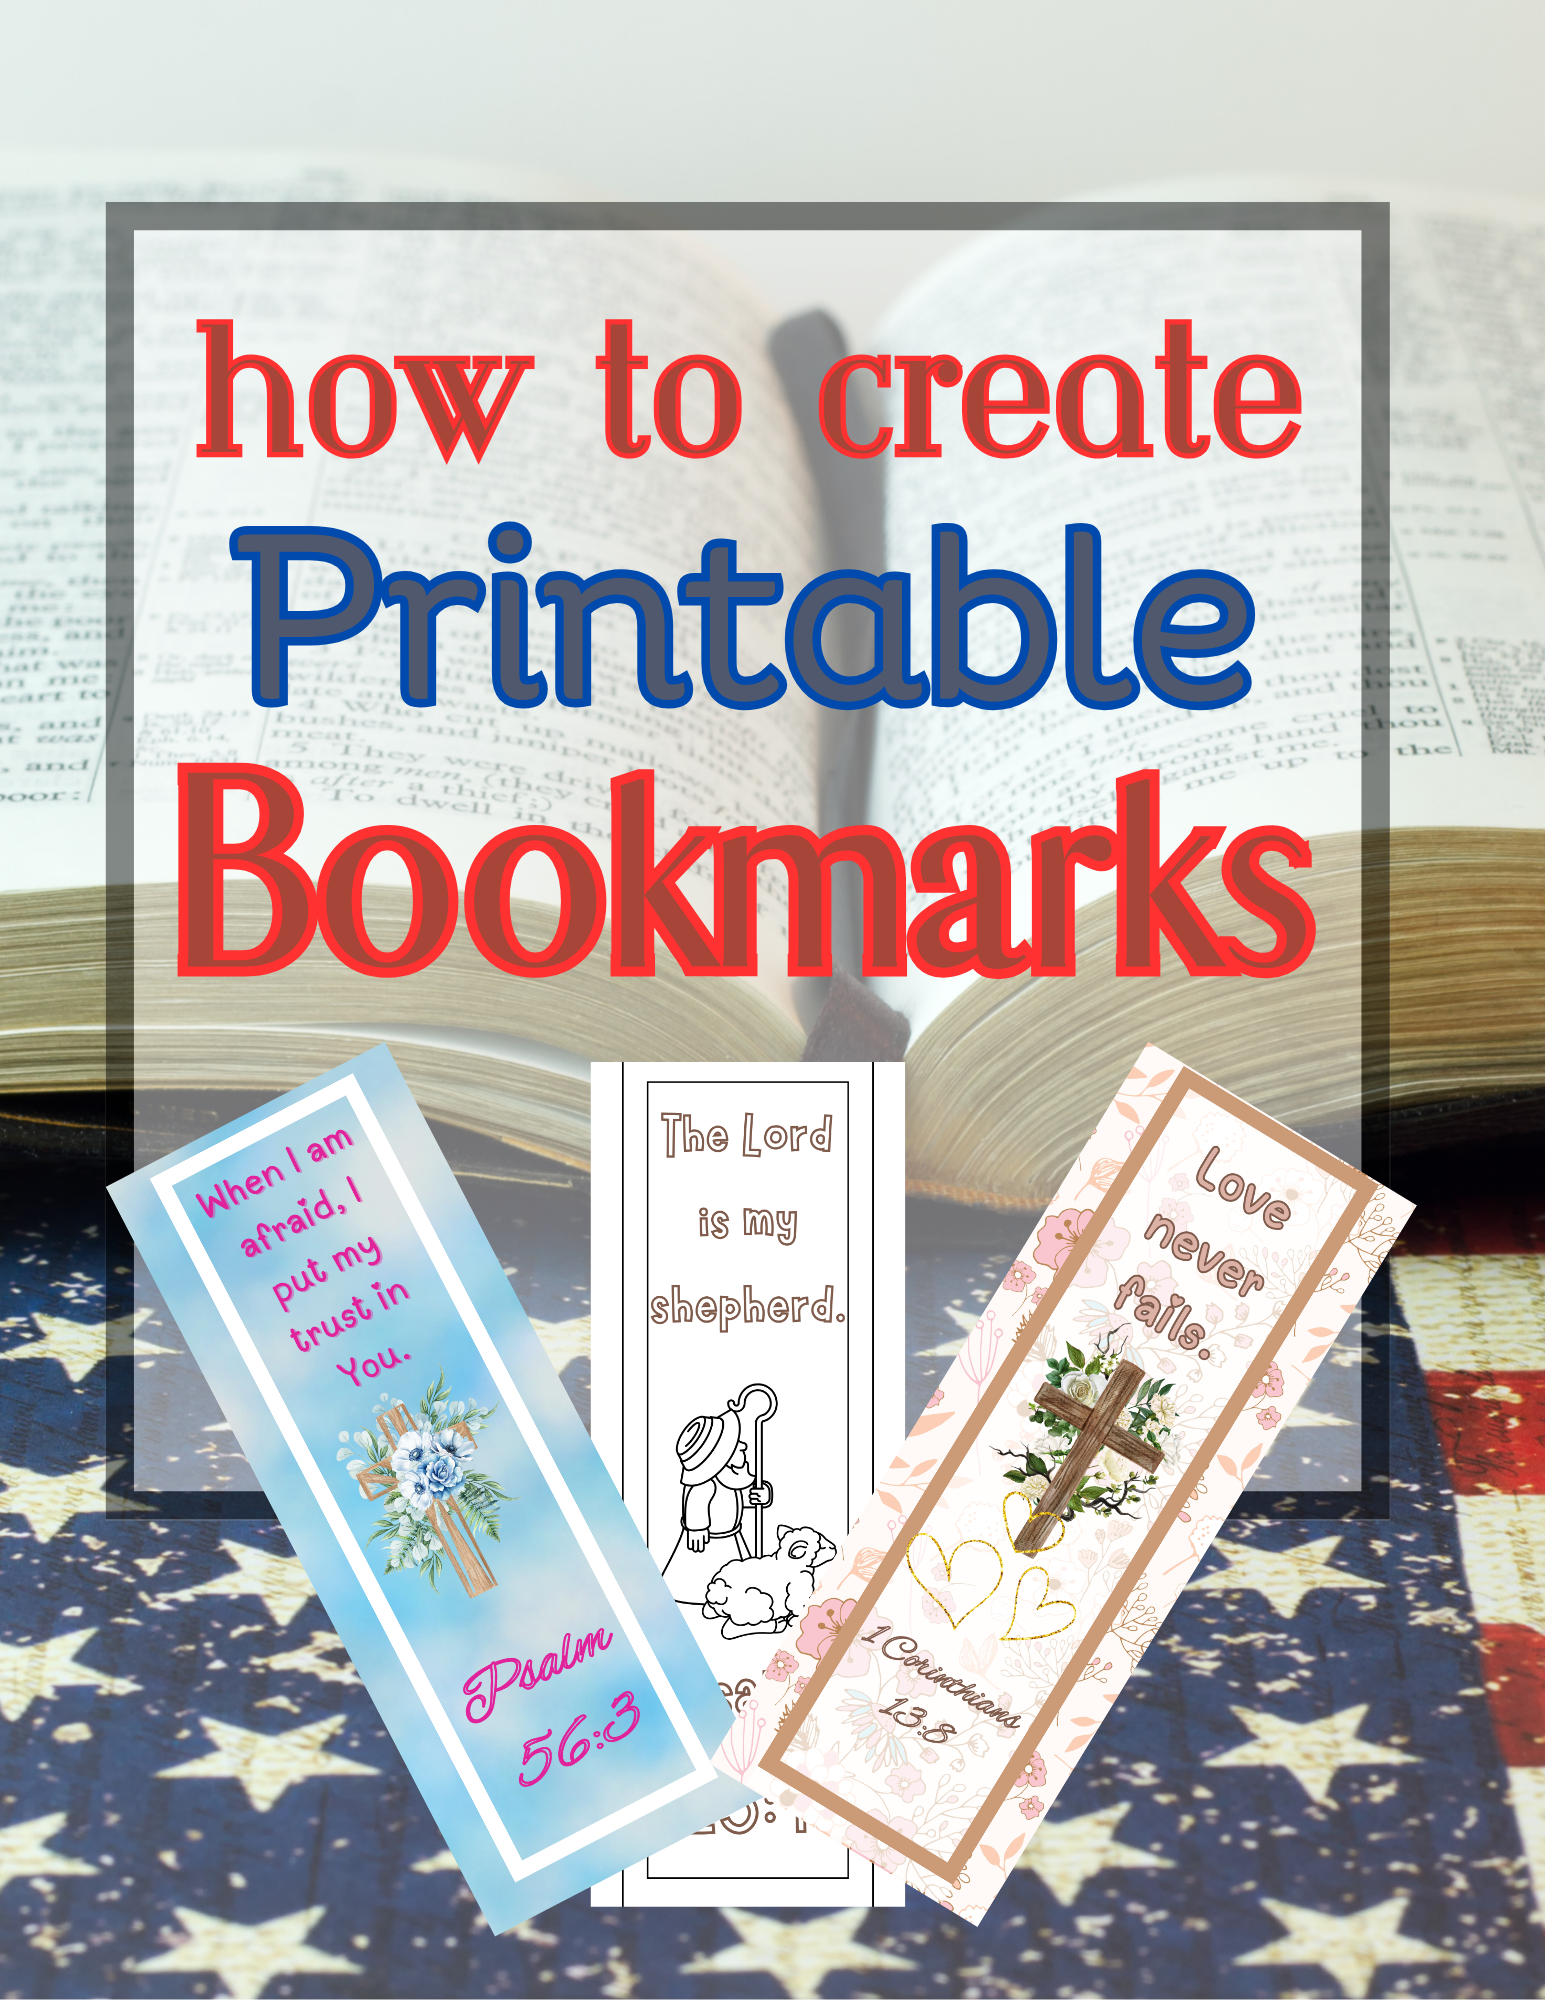
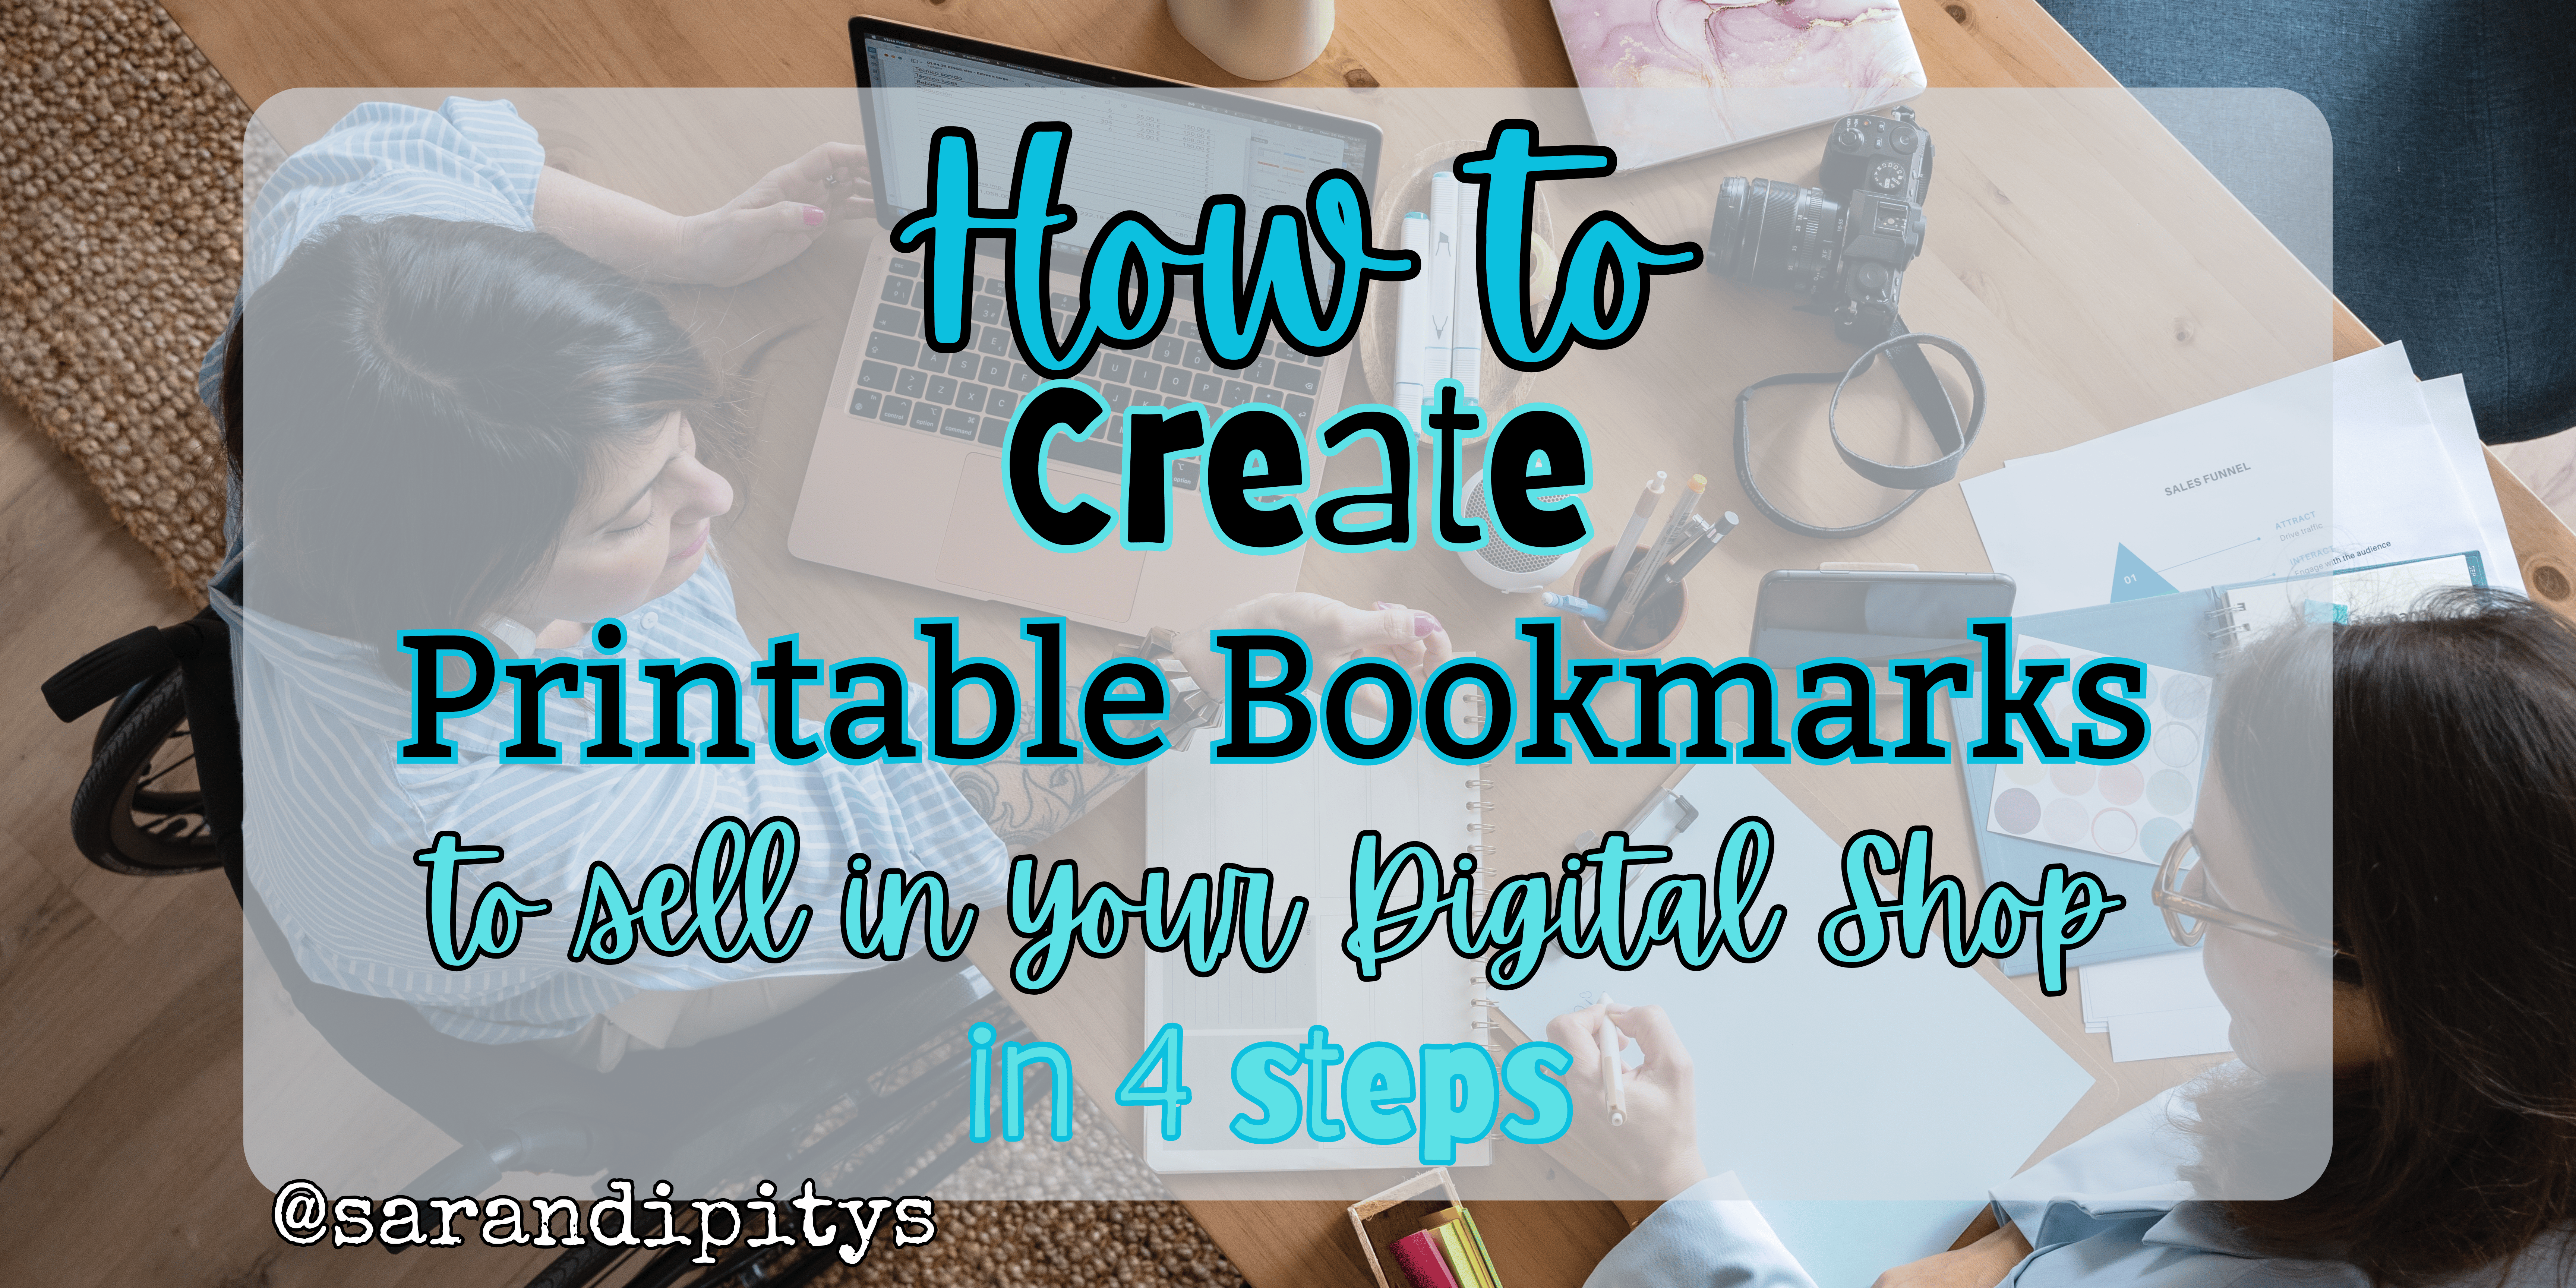
Want to add quick, profitable products to your digital store? Try printable bookmarks!
They’re fun to design, super easy to bundle, and customers love them as gifts, Bible study accessories, or even coloring pages.
Whether you’re a beginner or a seasoned seller, this guide will walk you through how to design printable bookmarks that actually sell.
- Nobody Prepared Me For This Part
- I need to tell you about this quest.
- Closes in hours. Don't miss this one.
- I'd hate for you to miss this. Just saying.
- Have you grabbed your ticket yet? 🎟️
- Something magical is brewing 🔮
- “You’re not behind. You’re holding too much.”
- Let’s fix your income flow
- What happens when you stop showing up?
- 🌿 For the Seasonal + Evergreen Creators
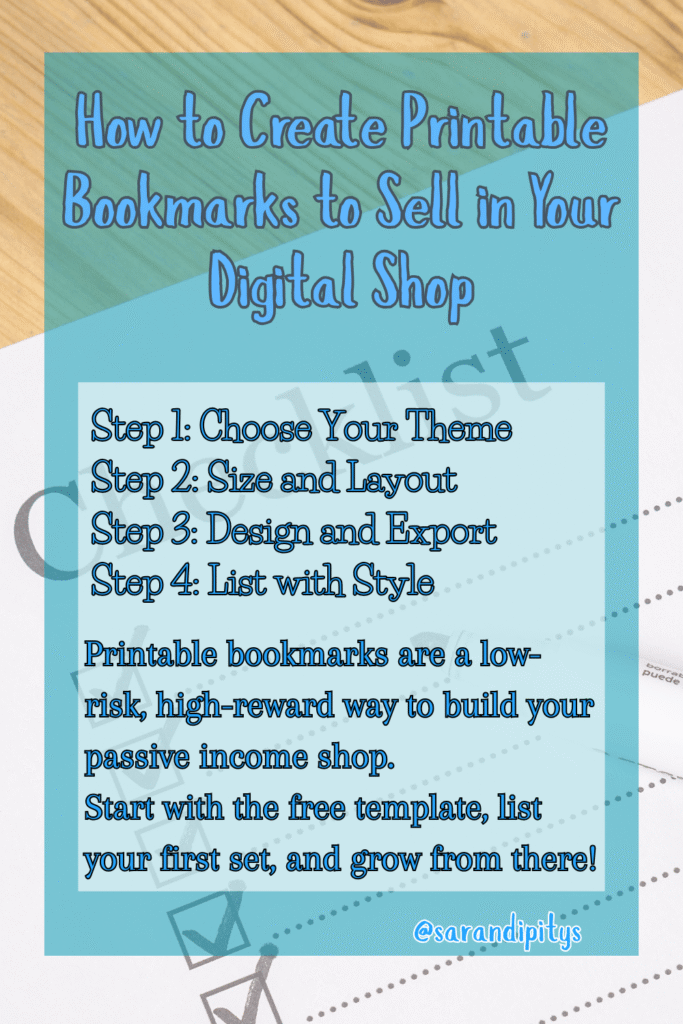
✂️ Step 1: Choose Your Theme
Start with an audience-specific idea — faith-based quotes, kids’ coloring bookmarks, seasonal affirmations, or motivational sayings.
💡Tip: The more specific the niche, the easier it is to stand out.
🖼️ Step 2: Size and Layout
Standard bookmarks are usually:
- 2″ x 6″
- 2.5″ x 7″
- 3″ x 8″
Instead of guessing or resizing every time, grab my free Bookmark Template Pack — it includes multiple sizes, trim lines, and bleed zones to help you design with confidence.
👉 [Click here to download the freebie!]
🎨 Step 3: Design & Export
Use Canva, Affinity, or Photoshop to:
- Add your quote or design
- Use high-contrast fonts
- Keep space for trim + hole punches
- Save as high-res PDFs + PNGs
🛍️ Step 4: List with Style
Once your bookmarks are done, you’ll need strong visuals. Instead of taking photos, use mockups!
🛒 Upsell Alert: Grab my Bookmark Mockup Bundle with pre-sized, drag-and-drop templates you can use in Canva or Photoshop. Showcase your bookmarks beautifully in minutes.
👉 [Shop the mockup bundle here!]
Printable bookmarks are a low-risk, high-reward way to build your passive income shop.
Start with the free template, list your first set, and grow from there!


One thought on “How to Create Printable Bookmarks to Sell in Your Digital Shop in 4 Steps”