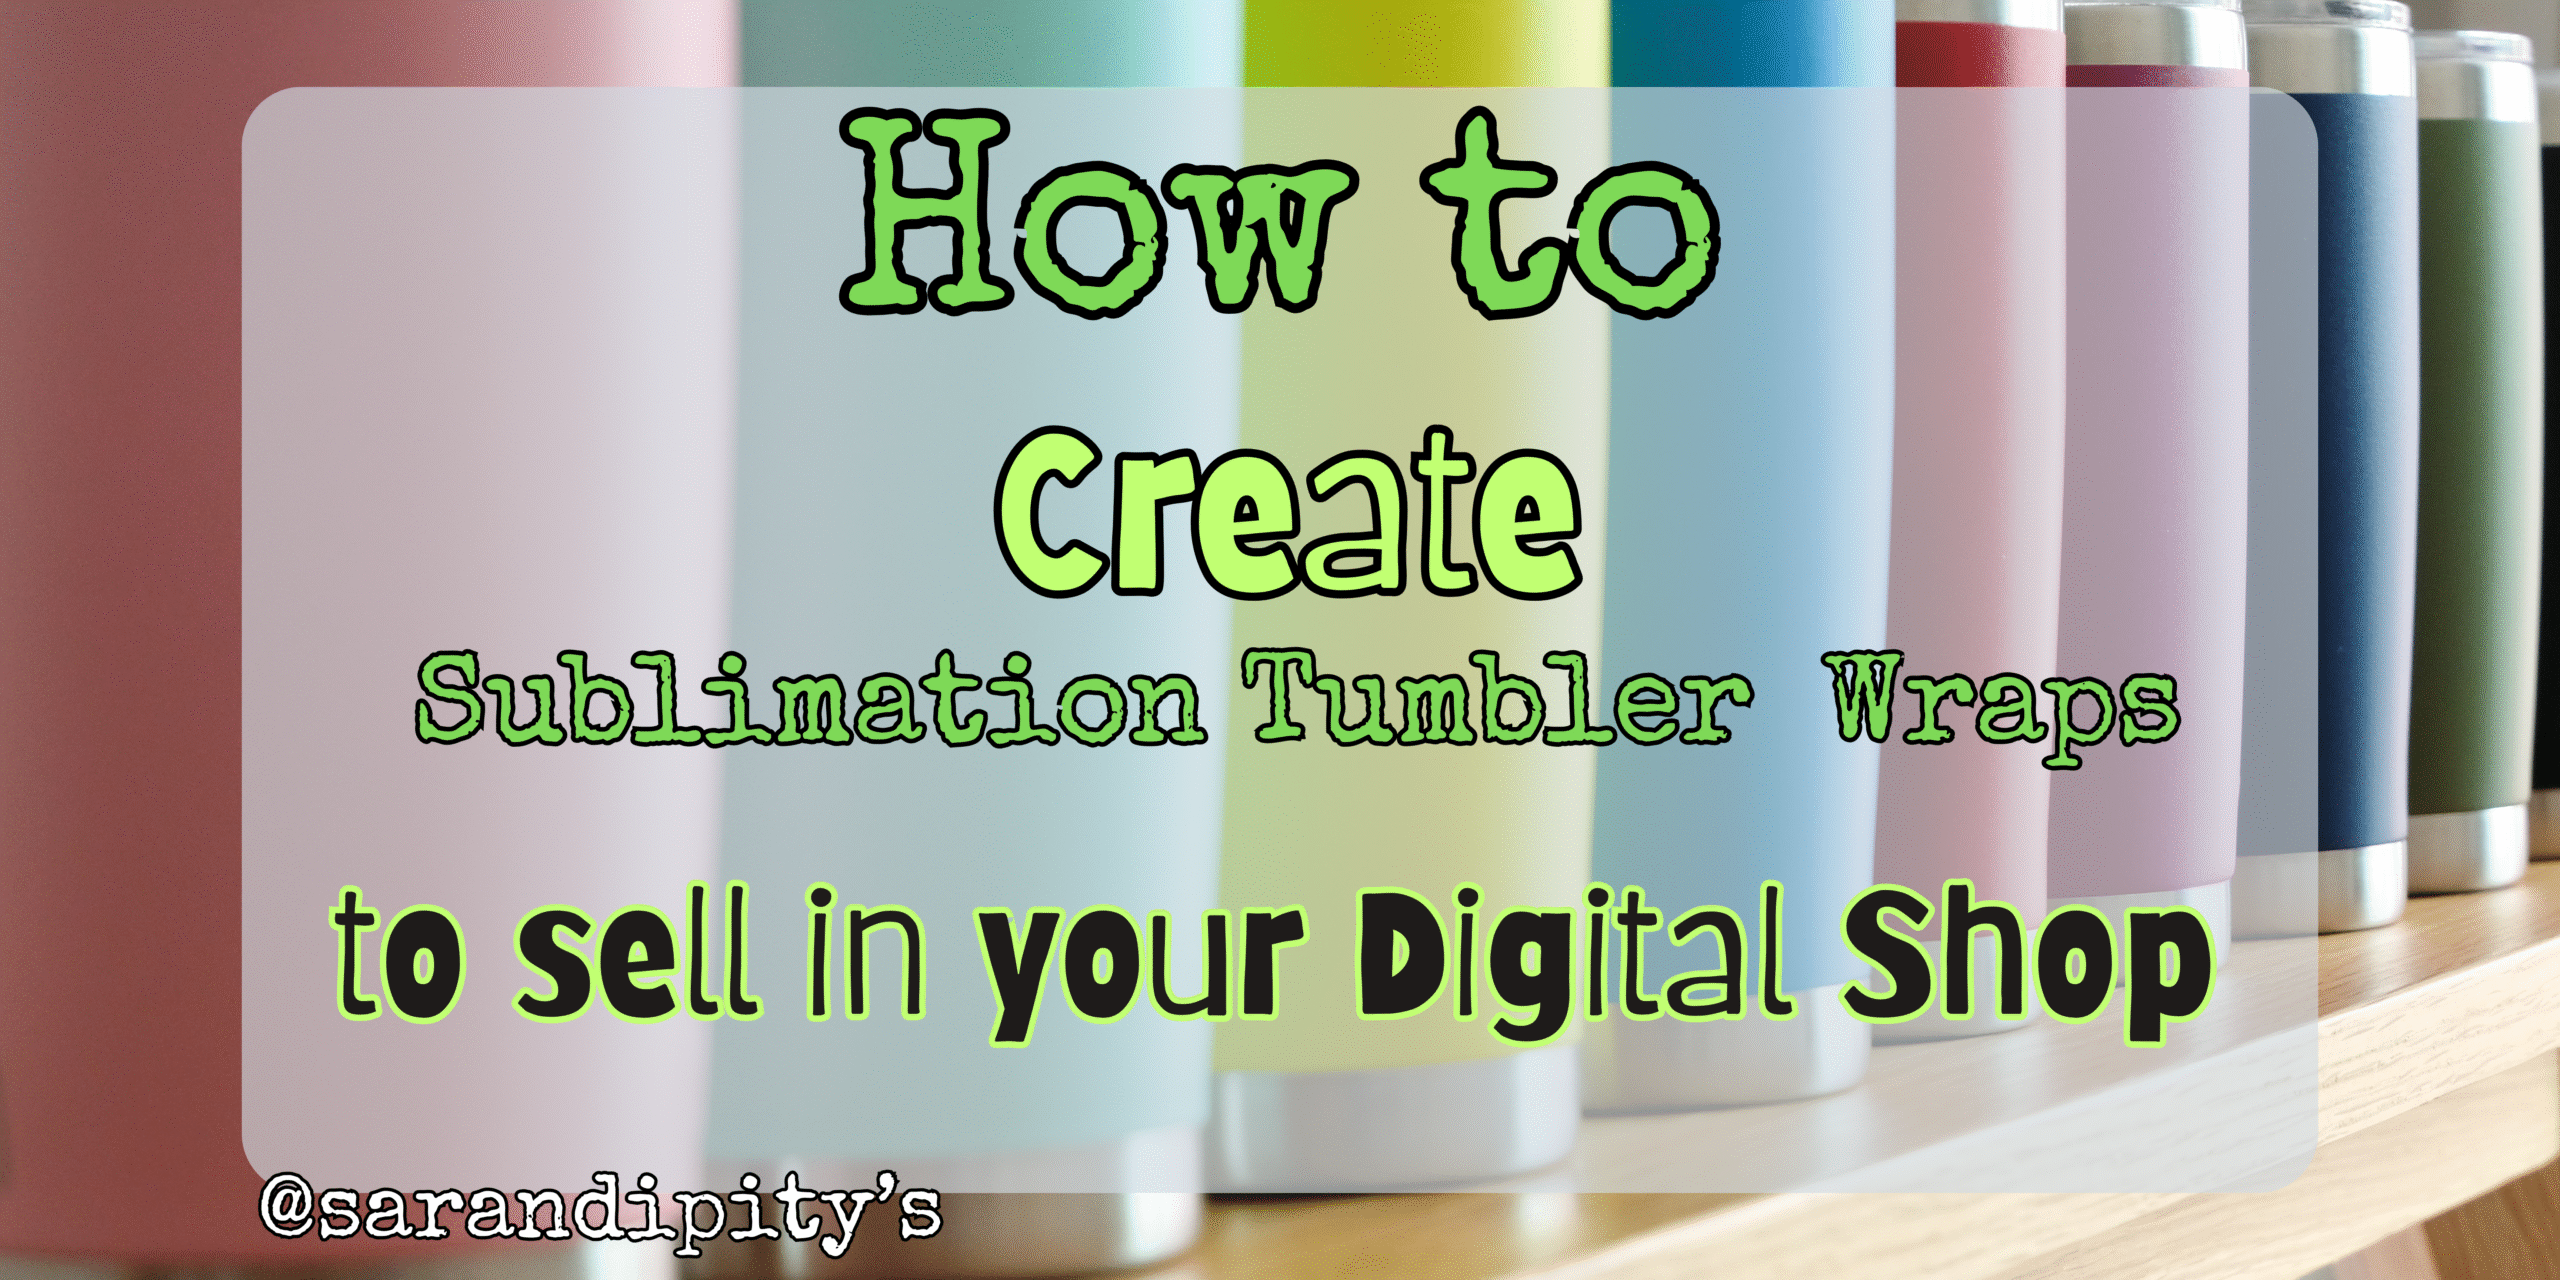
If you’re diving into the world of tumbler sublimation, the 20 oz skinny tumbler is the perfect place to start. It’s one of the most popular sizes for custom drinkware — sleek, stylish, and easy to work with, especially for beginners.
Once you’ve mastered the 20 oz skinny, you might want to branch out into:
- Other sizes of sublimation tumblers
- Tumblers with handles or lids
- Kids’ cups or mini tumblers
- Classic mugs, camp mugs, wine glasses, can coolers, shot glass tumblers, or stainless water bottles
Each style comes with its own sublimation sizing needs. Manually measuring and adjusting files can slow you down and lead to waste — and let’s be honest, sublimation blanks aren’t cheap.
However, the best practice is to do a quick measurement before creating your sublimation printable if you’re using a new brand of drinkware that you haven’t used before. There might be minor size differences between brands.
Otherwise, you can use pre-made templates to make fast work of sizing and prepping your sublimation tumbler wraps for printing and sublimating.
In this post, I’ll walk you through:
- The ideal sizing for various tumblers
- Common sublimation tumbler sizes (and how to prep for each)
- A free tumbler wrap sizing template
- A shortcut: all-in-one template pack for mugs, tumblers, water bottles, and more
- Bonus: How to turn your tumbler wrap designs into 100 digital products in 7 days 💡
Let’s go!
While there are many different tumbler sizes, the process is the same for any option you’re using. We’ll use the 20-oz skinny tumbler for our reference for the step-by-step instructions.
Grab your free 20-oz tumbler template and get a printable instruction guide for quick reference. And if you want to work with other sizes of sublimation tumblers, grab the guide template set to make it easy to be consistent every time.
🎯 Start with the 20 oz Skinny Tumbler
20 oz Skinny Tumblers are trending in the sublimation world for a reason:
- They’re easy to hold
- Great for everyday use
- A best-seller in shops and craft fairs
✅ Sublimation Wrap Sizing Guide
| Tumbler Type | Dimensions for Print |
|---|---|
| Straight | 8.25″ H x 9.35″ W |
| Tapered | 8.2″ H x 9.4″ W |
✨ Grab your free 20 oz skinny tumbler template right here — no more guesswork or resizing drama! [Download Now]
💡 What About Other Tumbler Sizes?
Once you’ve mastered the 20 oz skinny or tapered, you might want to branch out into:
- 15 oz, 30 oz, 40 oz tumblers
- Tumbler with handles or lids
- Kids’ sizes or mini tumblers
- Classic mugs, camp mugs, can coolers, or stainless water bottles
| Tumbler Size | Style | Design Dimensions |
|---|---|---|
| 30 oz | Straight | 9.5″ x 10.25″ |
| 15 oz Mug | Straight | 4.5″ x 9.5″ |
| 11 oz Mug | Straight | 3.75″ x 8.5″ |
| 40 oz Dupe Style | Tapered | 10.5″ W x 9.75″ H |
| 22 oz Sports Bottle | Straight | 9.25″ W x 5.5″ H |
| Kids Tumblers | Various | Varies – see bundle |
🔥 Want All the Right Sizes Without the Hassle?
Save your time (and sanity) with my All-in-One Sublimation Sizing Template Pack!
It includes:
- Straight and tapered templates
- Sizes for 11 oz, 12 oz, 15 oz, 16 oz, 20 oz, 22 oz, and 30 oz mugs + tumblers
- Water bottles, kids tumblers, and more
- Print-ready sizes and layered Canva files
- Bonus: quick-reference size cheat sheet!
👉 [Grab the full template pack here] — perfect for digital sellers and crafters alike!
✨ Step-by-Step Instructions to Design Sublimation Tumbler Wraps
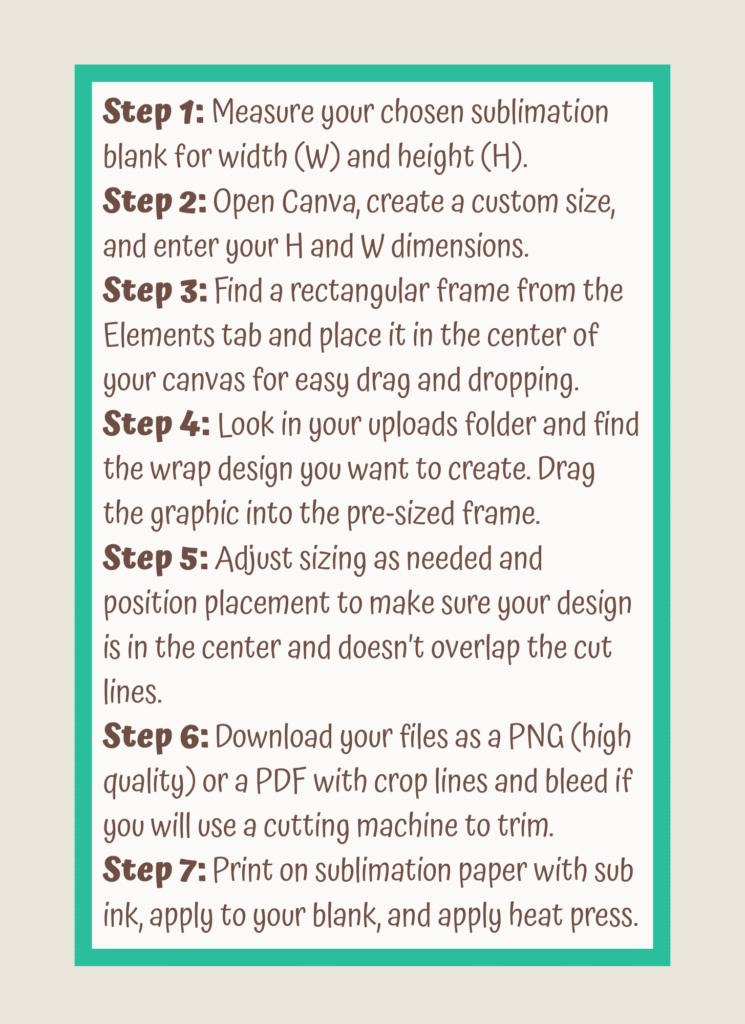
🪄 Step 1: Open Canva (or your preferred design program)
Go to Canva.com, log into your account, and click “Create a Design.”
📐 Step 2: Set Your Custom Dimensions
Click “Custom Size,” switch to inches, and enter the exact wrap dimensions for your tumbler.
For example:
- 20 oz skinny tumbler (straight): 9.3” W x 8.2” H
- (Use your sizing guide for others!)
🖼️ Step 3: Insert a Canva Frame for Easy Placement
From the “Elements” tab, search for “Frame” or use your pre-made template.
Choose a rectangle frame sized to match your wrap, and center it on the canvas. This allows for drag-and-drop ease!
📂 Step 4: Upload Your Tumbler Graphic Design
Click “Uploads” in the sidebar and drag your graphic or pattern file into Canva.
You can also use background patterns, clipart, or designs you created outside Canva.
🎯 Step 5: Drag Your Design into the Frame
Click and drag your uploaded graphic into the frame you added.
Adjust the crop as needed so it fills the entire space without white edges.
⬇️ Step 6: Download Your File for Printing
You have two options:
- 💡 For cutting machines (like Cricut/Silhouette):
Download as PDF Print, with crop marks and bleed enabled. - 🖼 For direct sublimation:
Download as PNG at 300 DPI (high quality).
🖨 Step 7: Print + Press Your Tumbler
- Open your downloaded wrap file
- Print it using a sublimation printer and sublimation paper
- Wrap it around your blank tumbler and secure with heat-resistant tape along the seams
- Apply heat using a tumbler press or convection oven
Want perfect results every time? 💥
📘 Grab my Sublimation Guide Book for time & temp settings, pressure tips, and beginner-friendly instructions to get clean, vibrant designs on every blank. (Coming Soon)
Here are some of my fav sublimation experts to check out for awesome craft ideas, tutorials, and more.
✍️ Design Once, Repurpose Forever
Here’s the secret to selling more digital products with less effort:
Once you design one tumbler wrap, you can:
- Repurpose it as a bookmark design
- Turn it into a wall art print
- Crop it for stickers or drink coasters
- Rework it into SVG files
- Use it for mockup previews or styled flatlays
Want a step-by-step roadmap to make this happen?
💥 Join the “100 Products in 7 Days” Challenge
Learn how to take ONE design and turn it into 100 different digital products you can sell online.
Perfect if you’re ready to:
- Launch or grow a shop on Etsy, Shopify, or Ko-fi
- Build a passive income stream from art you already love to make
- Finally take action on that creative idea you’ve been sitting on
You’ll also get access to:
- Templates for bookmarks, mug wraps, stickers, wall art, and more
- My eBook + workbook bundle to map out your entire product plan
- Mini tutorials on mockups, batching, and Canva design hacks
🎁 Free Template + Next Steps
Before you go, don’t forget your free 20 oz skinny tumbler template:
✅ Click here to download it now
Then, upgrade to the All-Size Sublimation Template Bundle so you’re always ready to design with confidence:
🔗 [Shop the full template pack] (coming soon)
And if you’re ready to take things to the next level, don’t miss:
Coming soon….
- How to Make Drink Coasters
- How to Create Mug Sublimation Designs
- How to Design Stickers That Sell
- How to Make and Use Mockups to Market Your Products
- My Top SVG Design Tips
You’ve got the creativity. Now let’s turn it into income. 💰🔥
